Imagine you are in your kiteboarding lessons and you just nailed your first ride! Great job! You then ride back to your instructor on the beach (who greets you with a well-deserved high-five). Only now, you find yourself being far down the beach from where you initially entered the water and must walk your way back up to start again. What happened?
Some kiteboarders nicknamed this part of the learning process the “Walk of Shame” (“shameful” as in you still are not able to ride back upwind like other independent kiters, meaning you have to walk up the beach with your kite to where you started).
However, as an IKO kiteboarding instructor, I try to look at it in a positive way and with a bit more empathy: the “Walk of Shame” is more like a rite of passage. I mean, when you think about it, everyone in the history of the sport has also done it at some point before you!
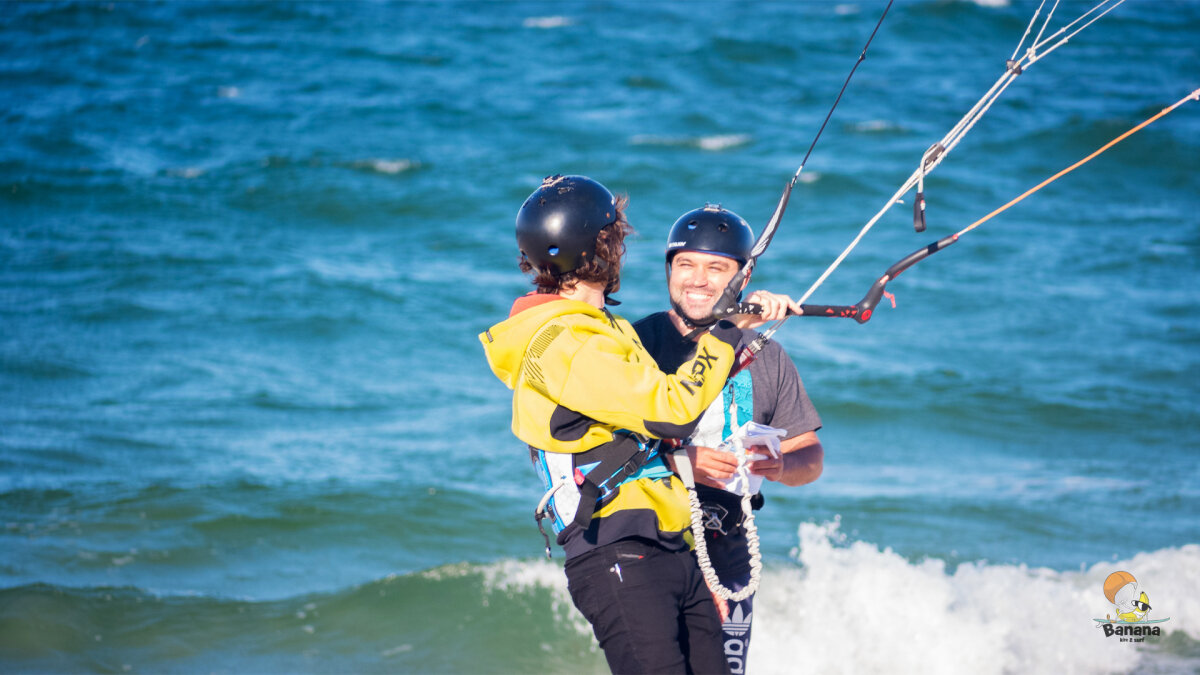
And more than that, the “Walk of Shame” is also a very useful opportunity for you to get feedback, tips and advice from your IKO instructor while you both walk up the beach together. Often times, you might even put the kite down and walk with it in your hands to take a break and focus on visualizing your next move according to your instructor's feedback.

The “Walk of Shame” Is An Integral Part Of Learning
Riding upwind, or developing the ability to ride back to your starting point consistently as opposed to downwind (in the same direction the wind is blowing), takes time and practice to learn. On your way to mastering this important skill, you'll probably be walking back up the beach with the kite in the air or in your hands a few times.
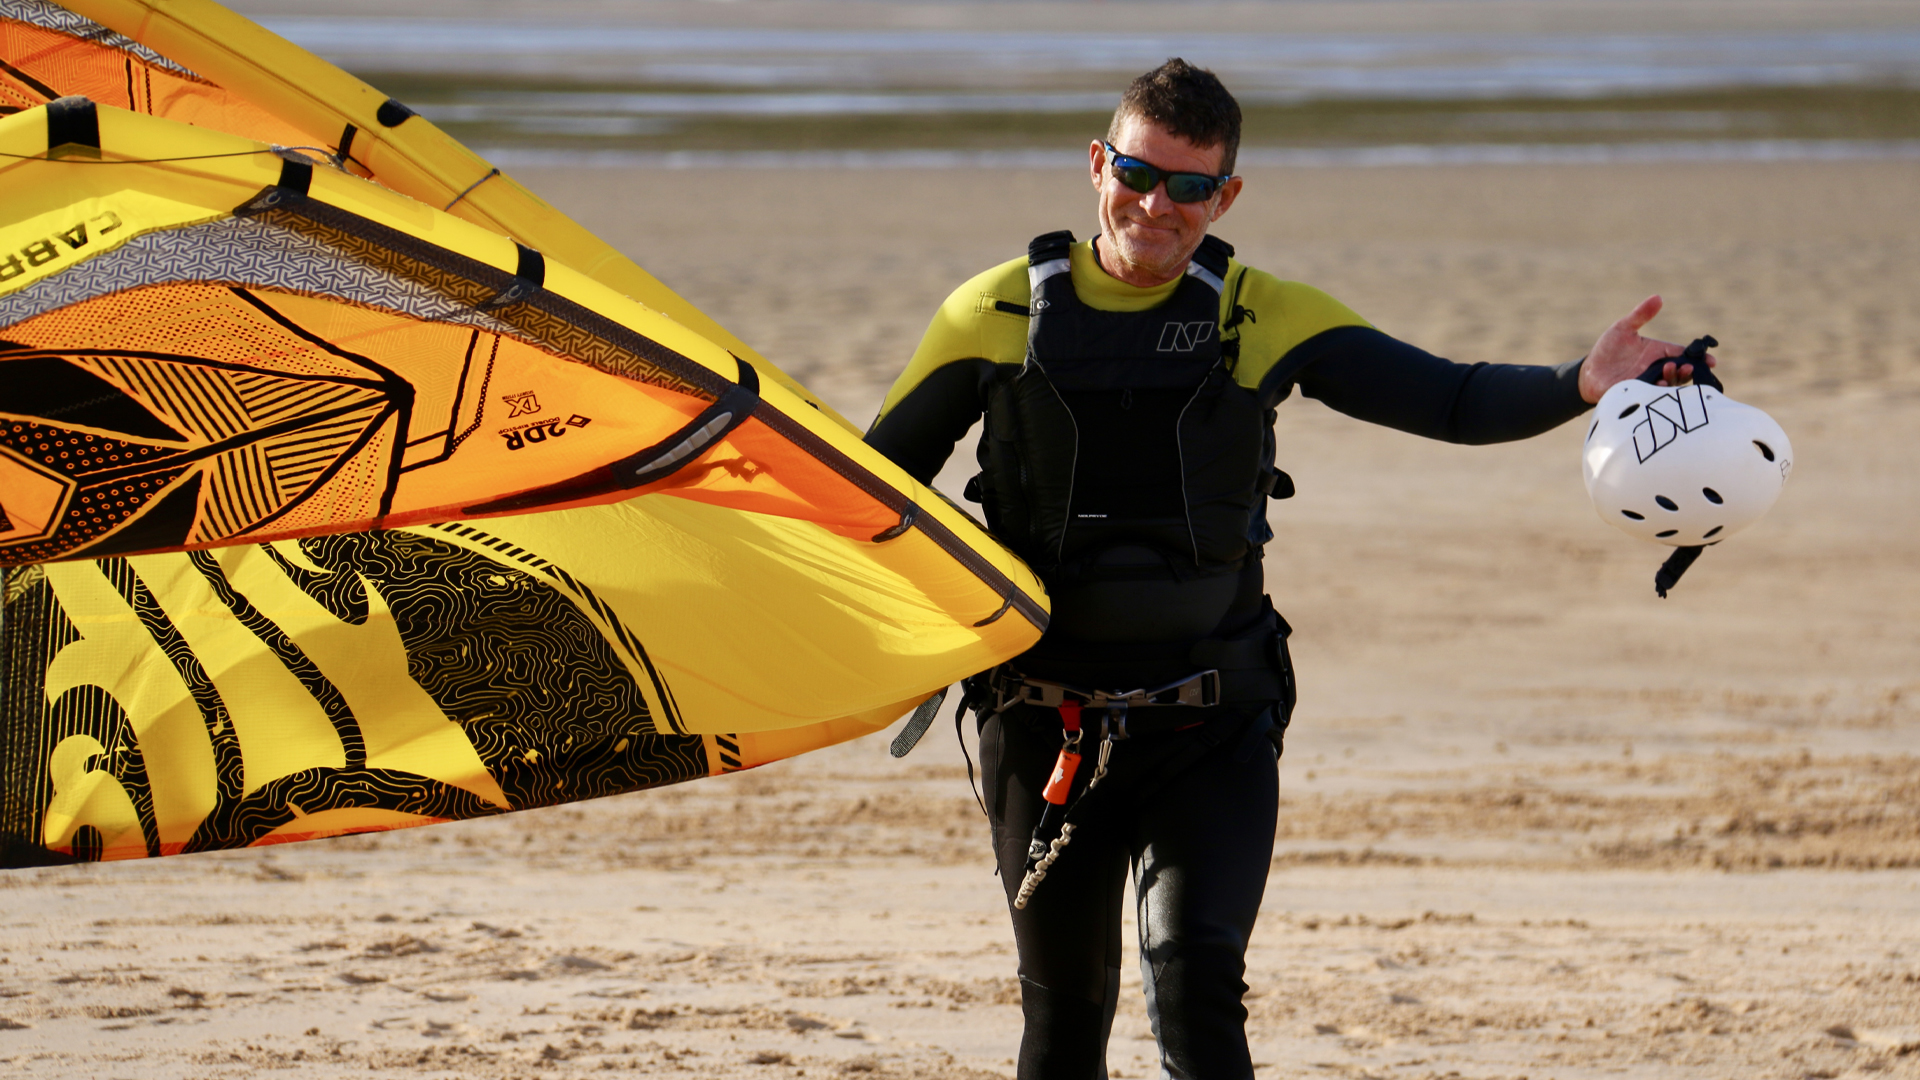
During your first kite sessions, the “Walk of Shame” is the quickest way upwind to get more repetitions and the best way to get ongoing feedback from your IKO instructor. To do so, you first need to get back to a place where you can stand (whether on the beach or in shallow waters). Then, you stabilize the kite at either 11 or 1 o'clock with one hand and hold the board with the other while walking back to where you started.
To stay safe, you should keep the kite away from directly above your head (12 o'clock) which makes it less likely to lift you up (in case of wind gusts) or to front-stall and fall straight out of the sky. Also, orient the kite away from any potential hazards or obstacles. That way, if you need to activate your safety release, there will be less risk of complications.
In my teaching experience, there is no way to avoid the “Walk of Shame” altogether unless you take lessons from a boat (because then the boat will take you back upwind after each attempt).
Why Can Upwind Riding Be A Bit Tricky To Learn?
Riding upwind is a bit challenging because of the coordination it requires from you. To do it, you must be capable of generating enough power with the kite while simultaneously maintaining your body position and edging hard with the board.
When cruising, you are using the edge of the board to convert wind energy into forward momentum. Eventually, you will also learn to use the board edge similar to a rudder, giving you a better ability to take any direction of sail. But until then, you will only have a limited ability to maintain your upwind ground.
Riding upwind is also challenging because the technique is all in the details! Getting yourself balanced on the board is tricky at first as students tend to load much of their body weight on their back foot as their default riding stance. Or, if you point the board too far upwind, it causes you to lose all your speed and sink into the water.
Lastly, all of your previously acquired skills from the start of your lessons will be put to the test at this point. Any extra time you spend trying to water-start leads to distance lost downwind. Losing the board can also cause you to drift further from your starting point. But all of that takes practice and patience, and your IKO Instructor will be there to guide you through it!

The Best Board To Pick For Upwind Riding
It is advantageous to start learning on a large-sized twin tip board in the 145 cm to 165 cm range if it's available to you. The increased length of the board equals a bigger rudder for edging. Thus, you will be able to take a steeper upwind angle compared to a smaller board.
However, remember that the size of the board should ultimately be related to your body weight and a board too big for someone small might not let you edge enough. Here again, your IKO Instructor will be able to help you choose the perfect board for your level.
Once you are proficient riding upwind on a twin tip board, you then might consider trying a directional surfboard with straps. Surfboard-shaped boards have longer edge lengths, longer fins, and higher deck volumes compared to wake-style twin tip boards. Some riders find them more efficient at riding upwind than twin tip boards, although this really depends on the outline, rocker and other characteristics of the board along with the kiter’s skills.
Hydrofoiling is also changing the game when it comes to upwind riding. On a hydrofoil board, you ride above the water via an underwater wing which has less drag than any other type of board. With a hydrofoil, it almost feels like you can ride directly into the wind, especially if you incorporate a foil kite into the equation.
IKO Instructor Tips To Boost Your Upwind Riding Progression
Keep your kite at around a forty-five-degree angle at the edge of the wind window. If you ride with too much speed, your kite gets out of position, so it's more efficient if you ride a bit slower than usual. Keeping the kite bar sheeted out also helps to avoid getting pulled in the downwind direction with every gust of wind.
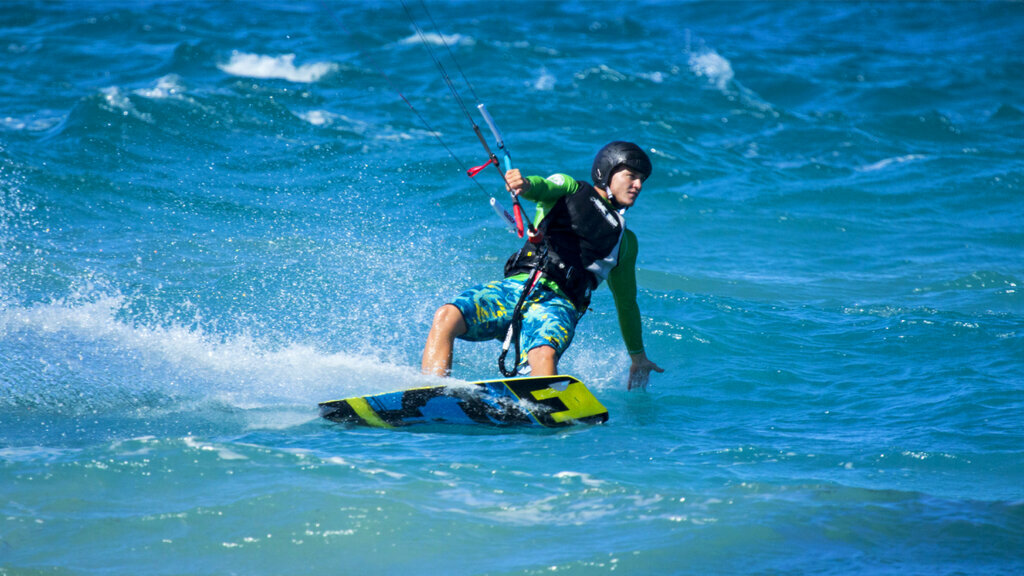
Your body positioning for riding upwind starts with the head and eyes. Look at an upwind reference point and then rotate your shoulders and hips in that direction so that you begin pointing your board upwind. Releasing the front hand from the control bar when riding also helps accentuate this twisting motion.
When riding, shift your weight slightly forward towards the front of the board. Aim for a 50/50 weight distribution between the front and back foot. To make this easier to achieve, think about pushing your hips forward in your stance; then you will begin to feel the difference.
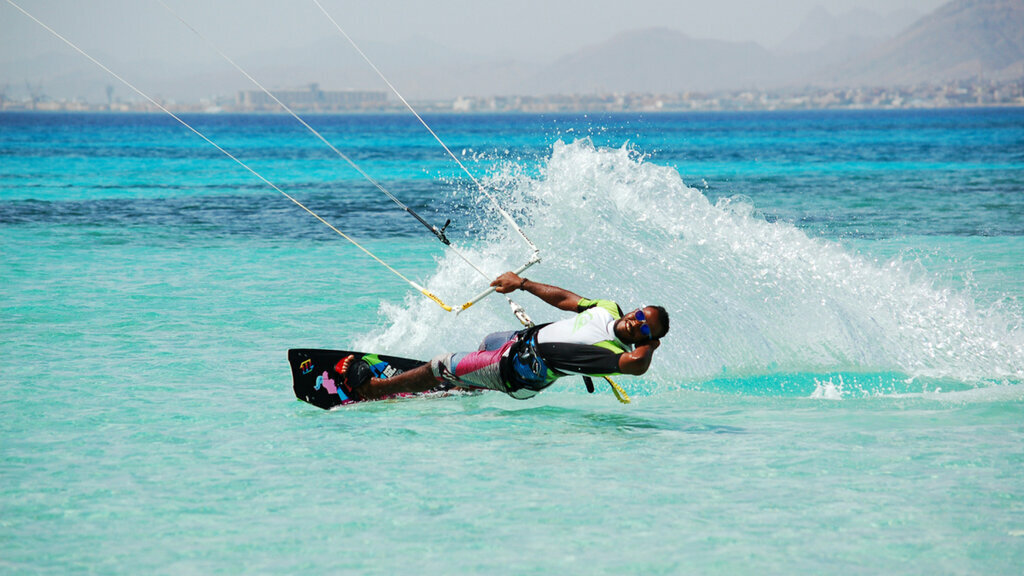
Lastly, edge hard (but not too aggressively) with the board by pressing firmly into your heels. If you can see the water spraying off the bottom of the board when you ride, then you're doing it right!
Strategy-wise, you want to make relatively long tacks back and forth (as opposed to taking short rides back and forth). That way, you have more time to build up your momentum before carving and pointing upwind. You also won't lose ground as quickly because you spend less time sitting in the water transitioning side-to-side.

There's No Shame In Doing A “Walk Of Shame”!
Learning to kiteboard can be challenging at times. But even though your first sessions might not be perfect, you can relax because we've all been there at one point.
As long as you are willing to put in the effort, you will achieve your kiteboarding goals. And in the future, remember to lend a helping hand to the next crop of kiteboarders walking back up that same stretch of beach as you once did. Your high-fives and encouragement can go a long way!
If you're struggling to ride upwind and tired of relentlessly walking up the beach, check-in with your nearest IKO Center for a few hours of lessons with an Instructor. Their direct feedback and coaching will improve your technique and can drastically speed up your progression.
Author: Daniel Plautz
Banner: White Dune Kiting
